The Art Of Direct Flash Photography In Wedding Shots
Wedding photography is an eloquent narrative, a story of love captured in the blink of an eye. Among the vast array of techniques and tools that photographers wield, direct flash photography is often the unsung hero that can bring a charged atmosphere to life with a single burst of light. This post is tailored for those looking to elevate their wedding photography game through the strategic use of direct flash. Whether you’re a seasoned professional or an aspiring wedding photographer, understanding and mastering this art can significantly enhance the emotional resonance of your work. So, let’s dive right in!
Understanding Direct Flash Photography

To master the use of direct flash, one must first understand its nature. Direct flash refers to the use of a built-in camera flash or external flash fired directly at the subject. Unlike diffused flash or bounce flash, which soften the light, direct flash delivers a stark and vibrant illumination. This technique is particularly powerful for capturing crisp details, emphasizing textures, and creating dramatic lighting effects.
Technical Nuances
Wedding direct flash, when handled with finesse, delivers more than just a well-lit subject. It captures the raw emotion and energy of the moment and crystallizes it into a photograph that feels alive. Here are some crucial tips for leveraging direct flash to enhance your wedding photography:
Compared to ambient light, direct flash is a controlled burst of light that can overpower and shape the scene to fit the photographer’s vision. It’s vital to learn how to manage the flash’s intensity, color, and spread, which is often achieved through modifiers like bounce cards or gels. Additionally, understanding the flash-to-subject distance and the inverse square law will help you predict the fall-off of light and manage the exposure more effectively.
Suggested Read: Hard Light vs Soft Light: Understanding Wedding Lighting
The Art Behind Direct Flash In Weddings
Direct flash photography in weddings requires a deep understanding of how to use flash effectively to capture candid moments without overpowering the scene. It involves mastering the balance between ambient light and flash to create natural-looking images that stand out.
1. Managing Contrast and Highlights

One of the most striking features of direct flash is it helps to amplify contrast. This can be used to create powerful, high-contrast images that highlight the depth of emotions, particularly in monochrome shots. However, this also means that you need to be mindful of overblown highlights and maintain detail in the exposure’s brightest areas.
2. Positioning And Angles
As a wedding photographer, you need to think about the angle of the flash to avoid creating unflattering shadows or’ red-eye’ effects. For portrait shots, a slight tilt to the side can create a more pleasing look. Similarly, experimenting with the flash’s position relative to the lens axis can lead to interesting outcomes, from wrapping the light around the subject to producing a more classic ‘pop’ look.
3. Balancing The Environment

Direct flash can sometimes produce an ‘isolated’ feel if not used in tandem with the ambient lighting. The strength of the flash should be adjusted to create a balance between the subject and their surroundings, ensuring that the two merge seamlessly to tell the entire story of the scene.
Suggested Read: Flash Photography Tips: A Brief Intro To Artificial Lighting
4. Managing Harsh Lighting
One of the main challenges of flash photography at weddings is dealing with harsh lighting conditions. To overcome this, photographers need to adjust the flash power, angle, and distance to soften the light and avoid unflattering shadows on the subjects.
5. Capturing Genuine Emotions

Direct flash can sometimes create a stark or artificial look in wedding photos, making it challenging to capture the genuine emotions of the moment. You need to work on creating a connection with the subjects to ensure their personalities shine through despite the technical constraints.
6. Dealing With Reflections And Glare
Reflections and glare from shiny surfaces like wedding rings, mirrors, or glass can be distracting in direct flash photography. Overcoming this challenge involves finding the right angles, using diffusers or modifiers, and adjusting settings to minimize unwanted reflections while maintaining image clarity.
7. Adapting To Changing Environments

Weddings are dynamic events with varying lighting scenarios, movements, and emotions. You need to be adaptable and quick-thinking to overcome the challenges of direct flash photography in different settings, from dimly lit wedding reception halls to bright outdoor ceremonies. Flexibility and creativity play a key role in capturing memorable shots that tell the story of the day.
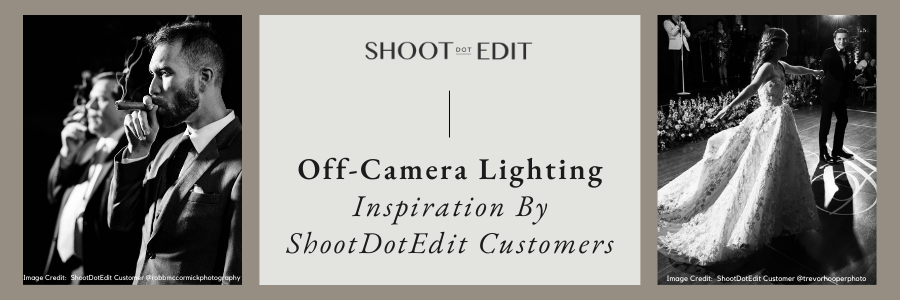
Suggested Read: Off-Camera Flash Techniques To Create Dramatic Wedding Reception Images
Tools and Equipment
A successful direct flash strategy in wedding photography is underpinned by the right gear. Here’s what you can have in your toolkit:
1. Essential Gear
- A high-powered flash unit with the capability to adjust the intensity and the spread of the flash.
- A reliable flash trigger system that can sync with your camera, especially when working with multiple off-camera flashes.
- A sturdy mount or stand for your flash, which can be adapted for various shooting environments.
2. Camera Settings
The optimal camera settings for direct flash photography in a wedding setting will largely depend on the specific conditions. However, a good starting point is to shoot in manual mode to have full control over exposure. Set your aperture based on your desired depth of field, your shutter speed at or below the camera’s sync speed to avoid a portion of the image being darker, and your ISO low to minimize noise.
Further Read: TTL Or Manual Flash For Weddings: Which One To Choose?
Direct Flash Photography

Mastering the art of direct flash photography in wedding shots is a rewarding journey that requires dedication, practice, and a keen eye for detail. This flash photography tutorial has shed light on overcoming the challenges associated with indoor flash photography, highlighting the importance of understanding camera flash techniques to capture stunning images. As part of the photography community, embracing the nuances of direct flash can elevate one’s skills and creativity in capturing the essence of weddings. Remember, like any skill, mastering it takes time and dedication. Start small, practice often, and be relentless in your pursuit of that perfect flash of emotion.
At ShootDotEdit, we are passionate about helping you grow your wedding photography business. A part of how we do that is by lessening your post-production workload with our professional photo editing services. To learn more about how we can help, check out our pricing plans.